Ever wondered what the heck a brad nail is? You're not alone, my friend. Brad nails are one of those little gems in the world of construction and woodworking that often fly under the radar. But let me tell ya, they’re super important if you’re into building stuff or fixing things around the house. Whether you're a DIY enthusiast or a professional contractor, understanding brad nails can save your bacon—or at least your project. So, buckle up, because we’re diving deep into the world of brad nails, and trust me, it’s gonna be worth it.
Brad nails might sound like something out of a fancy cocktail menu, but they’re actually pretty straightforward. These tiny nails are designed to hold materials together without being too noticeable. They’re like the invisible glue that keeps your furniture or trim looking sleek and polished. And hey, who doesn’t want that?
In this article, we’ll break down everything you need to know about brad nails, from what they are to how to use them effectively. We’ll also throw in some tips, tricks, and even a few fun facts to keep things interesting. So, whether you’re planning to build a bookshelf or just want to fix that creaky doorframe, this guide’s got you covered. Let’s get started, shall we?
Read also:Dilbert Comics A Mustread For Every Office Worker Looking To Survive The Madness
Table of Contents
- What Are Brad Nails?
- Difference Between Brad Nails and Other Nails
- Types of Brad Nails
- How to Choose the Right Brad Nail
- Tools You Need for Brad Nails
- Common Uses for Brad Nails
- Tips for Using Brad Nails
- Maintenance and Care
- Cost and Availability
- Final Thoughts
What Are Brad Nails?
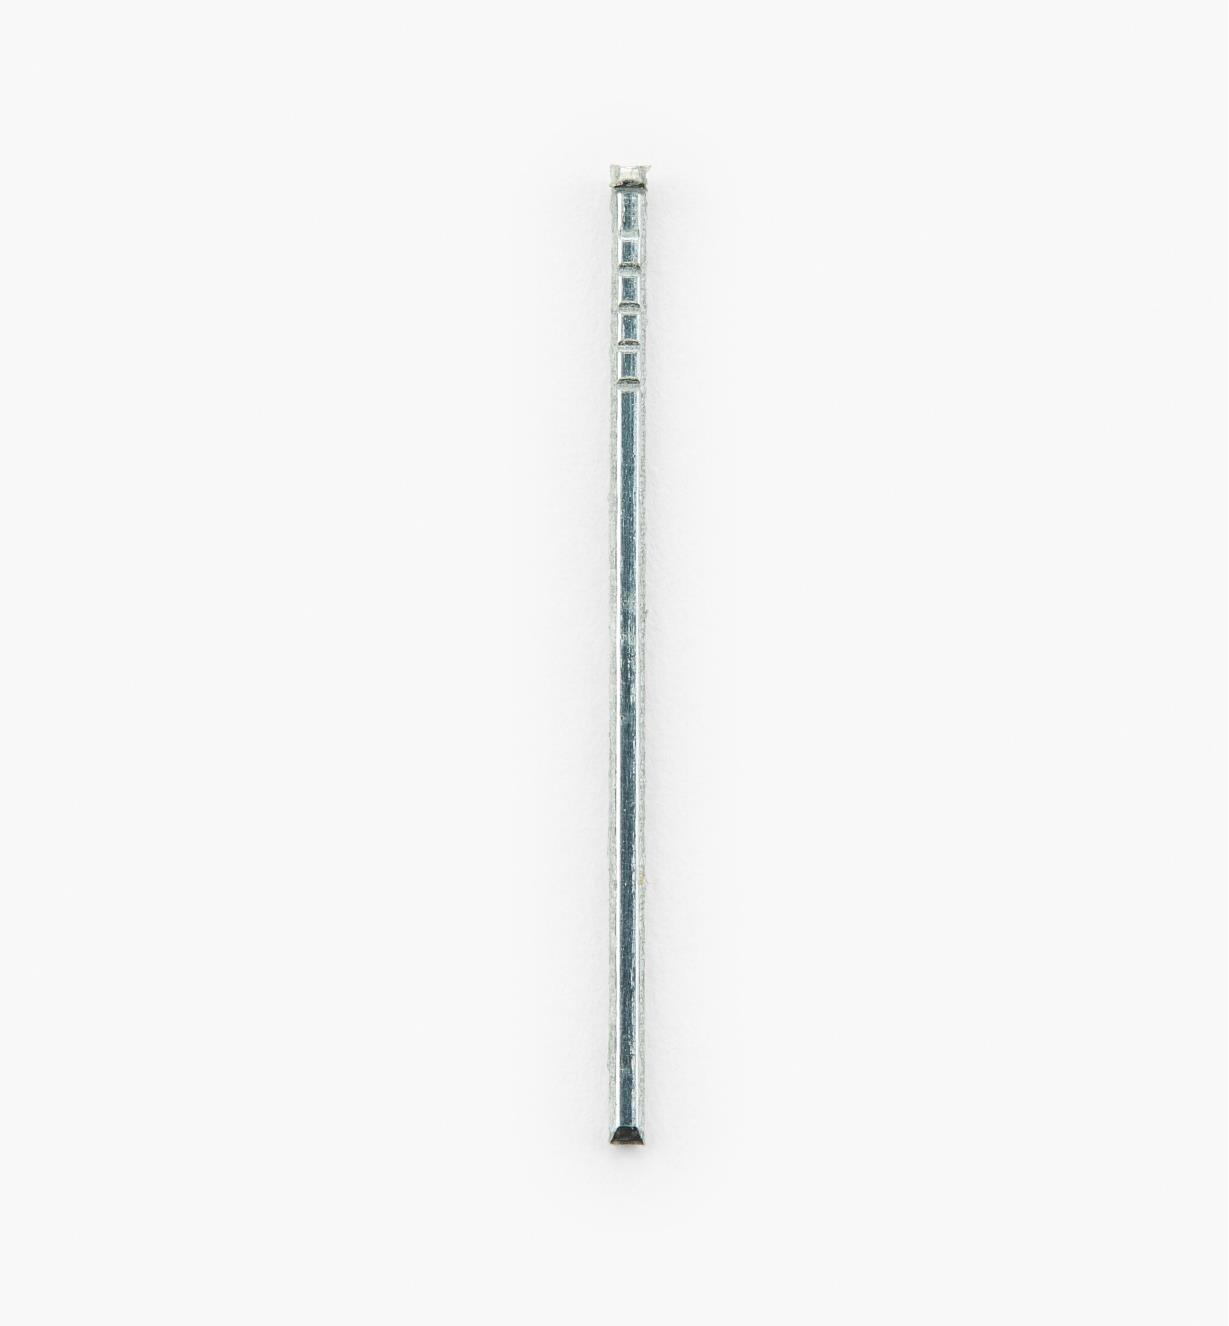
Alright, let’s start with the basics. What exactly is a brad nail? Simply put, a brad nail is a small, thin nail that’s typically used for delicate projects where you don’t want the fastener to be visible. These little guys are usually around 18-gauge in thickness, which makes them perfect for holding materials together without causing too much damage or leaving big holes.
Brad nails come in various lengths, but they’re generally between 5/8 inch and 2 inches. This versatility makes them ideal for a wide range of applications, from attaching trim to furniture assembly. Plus, they often have a smooth finish, which means they glide easily into wood without splitting it. Neat, right?
Why Are Brad Nails So Popular?
There are a few reasons why brad nails have become a go-to option for many DIYers and professionals alike. First off, they’re super easy to use. Most people use a brad nailer to drive these nails into place, and let me tell ya, it’s like magic. You can finish a project in no time without breaking a sweat.
Another big plus is that brad nails are less likely to cause damage to your materials compared to other types of nails. This is especially important when working with delicate woods or thin panels. And let’s not forget about aesthetics—brad nails are designed to blend in, so your finished project looks clean and professional.
Difference Between Brad Nails and Other Nails
Now that we know what brad nails are, let’s talk about how they differ from other types of nails. Understanding these differences can help you choose the right fastener for your project. Here’s a quick rundown:
- Brad Nails vs. Finish Nails: Finish nails are slightly thicker and longer than brad nails, making them better for heavier tasks. However, they’re also more visible, so if you want a cleaner look, brad nails are the way to go.
- Brad Nails vs. Staples: Staples are great for holding things together temporarily or for low-stress applications, but they’re not as strong as brad nails. If you need something that’s going to stay put, brad nails are the better choice.
- Brad Nails vs. Screws: Screws offer more holding power and can be removed if needed, but they take longer to install and leave bigger holes. For quick and discreet fastening, brad nails win this round.
When to Use Brad Nails vs. Other Fasteners
Choosing the right fastener depends on the job at hand. For example, if you’re attaching crown molding or baseboards, brad nails are your best bet. But if you’re building a deck or framing a house, you’ll want to go with something stronger, like framing nails or screws.
Read also:Pioneer Woman Death The Truth Behind The Headlines And What You Need To Know
Types of Brad Nails
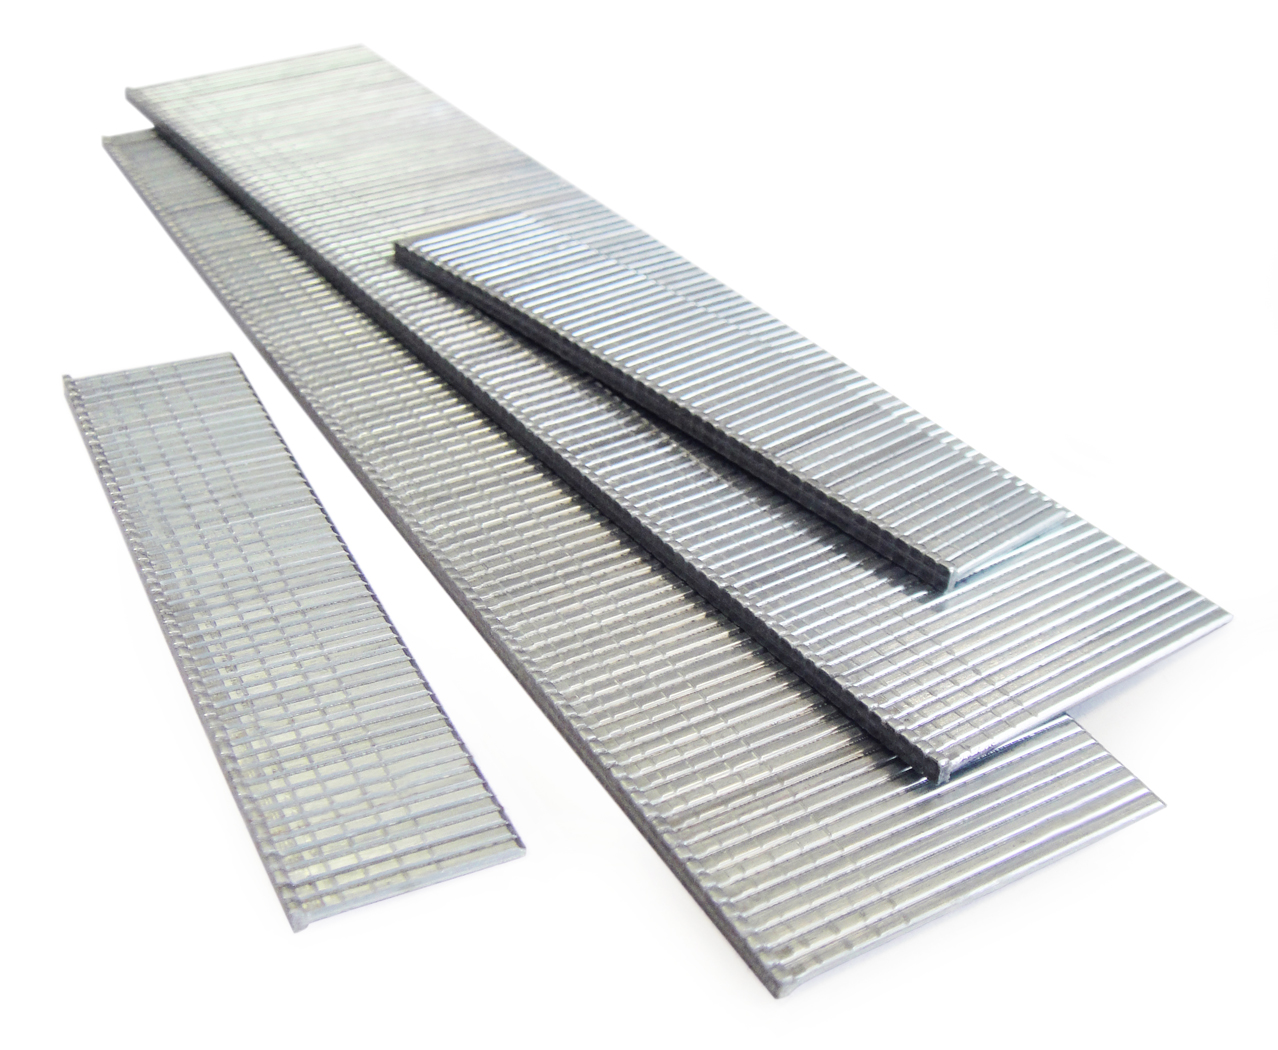
Not all brad nails are created equal. There are different types to suit various needs, so it’s important to know what’s out there. Here are some of the most common types:
- 18-Gauge Brad Nails: These are the standard brad nails you’ll find in most hardware stores. They’re thin, lightweight, and perfect for delicate projects.
- 16-Gauge Brad Nails: Slightly thicker than 18-gauge, these nails offer a bit more holding power and are often used for heavier-duty tasks.
- Ring-Shank Brad Nails: These have tiny ridges along the shaft, which helps them grip better and reduces the chance of them popping out.
Choosing the Right Type for Your Project
The type of brad nail you choose will depend on the materials you’re working with and the level of strength you need. For example, if you’re attaching trim to drywall, an 18-gauge brad nail should do the trick. But if you’re assembling furniture, you might want to go with a 16-gauge nail for added durability.
How to Choose the Right Brad Nail
Picking the right brad nail can feel overwhelming, especially if you’re new to this whole DIY thing. But don’t worry, I’ve got some tips to make the process easier:
- Consider the Material: Different woods and surfaces require different types of nails. Hardwoods, for example, may need a stronger nail than softwoods.
- Think About the Project: Is it a small, delicate job, or something more substantial? This will help you decide on the gauge and length of the nail.
- Check the Finish: If you want your nails to blend in, look for ones with a smooth finish or a color that matches your material.
And remember, it’s always a good idea to do a test run before committing to a particular type of nail. You don’t want to end up with a project that falls apart because you used the wrong fastener.
Tools You Need for Brad Nails
Having the right tools can make all the difference when working with brad nails. Here are a few essentials you’ll want to have on hand:
- Brad Nailer: This is the star of the show. A brad nailer allows you to quickly and accurately drive nails into place. There are both pneumatic and cordless options available, so choose the one that suits your needs.
- Air Compressor: If you’re using a pneumatic brad nailer, you’ll need an air compressor to power it. Make sure it’s compatible with your nailer.
- Safety Gear: Always wear safety goggles and ear protection when using power tools. Trust me, your eyes and ears will thank you later.
Pro Tips for Using a Brad Nailer
Using a brad nailer might seem intimidating at first, but with a little practice, you’ll be a pro in no time. Here are a few tips to get you started:
- Start Slow: If you’re new to using a brad nailer, take it easy at first. Practice on scrap wood until you get the hang of it.
- Adjust the Depth: Most brad nailers have a depth adjustment feature. Use it to ensure the nails go in just far enough without damaging your material.
- Keep It Clean: Regularly clean your nailer to prevent jamming and ensure smooth operation.
Common Uses for Brad Nails
So, what exactly can you do with brad nails? The possibilities are endless, but here are some of the most common applications:
- Trim Work: Attaching crown molding, baseboards, and other types of trim is where brad nails really shine.
- Furniture Assembly: Whether you’re building a bookshelf or putting together a piece of furniture, brad nails can help hold everything together.
- Cabinetry: Installing cabinets or adding decorative elements to them is another great use for brad nails.
And don’t forget about smaller projects like picture frames, shelving units, and even jewelry boxes. Brad nails are versatile enough to handle just about anything you throw at them.
Tips for Using Brad Nails
Now that you know what brad nails are and how to use them, here are a few extra tips to make your projects even more successful:
- Pre-Drill Hardwoods: To prevent splitting, pre-drill holes in hardwoods before driving in your brad nails.
- Use Nail Sets: If you want to sink the nails even further into the wood, use a nail set to tap them in without damaging the surface.
- Keep Your Nails Organized: Store your brad nails in airtight containers to prevent rust and keep them organized by size and type.
Common Mistakes to Avoid
Even the best of us make mistakes sometimes, but here are a few to watch out for:
- Using the Wrong Nail: Make sure you’re using the right type and size of nail for your project.
- Over-Driving Nails: Driving nails too far into the wood can weaken the joint and make it harder to remove them later.
- Not Cleaning Your Tools: A dirty nailer can cause jams and other issues, so keep it clean and well-maintained.
Maintenance and Care
Taking care of your brad nails and tools is crucial for ensuring they last a long time. Here are some maintenance tips:
- Store Properly: Keep your nails in a dry, cool place to prevent rust and damage.
- Regular Cleaning: Clean your brad nailer after each use to remove any debris or dirt that could cause issues.
- Check for Wear and Tear: Inspect your tools regularly for signs of wear and replace any damaged parts promptly.
Cost and Availability
Brad nails are generally pretty affordable, especially when bought in bulk. You can find them at most hardware stores or online retailers. Prices will vary depending on the brand, gauge, and quantity, but expect to pay anywhere from $10 to $30 for a box of 1,000 nails.
As for availability, brad nails are widely available, so you shouldn’t have any trouble finding them. Just make sure to check the specifications before purchasing to ensure you’re getting the right type for your project.
Final Thoughts
Well, there you have it, folks. Brad nails might be small, but they pack a big punch when it comes to holding things together. Whether you’re a seasoned pro or just starting out