Ever wondered how to take quick screenshots or precise screen captures on your Chromebook? Well, you're in the right place! Snipping tool Chromebook functionality is a game-changer for anyone who needs to capture important moments, share ideas, or document processes. Whether you're a student, professional, or just someone who loves tech, mastering this feature will make your life easier. Let me break it down for you in a way that even your grandma could understand.
Taking screenshots on a Chromebook used to be a bit of a mystery for some users. But with the introduction of the snipping tool Chromebook capability, it’s now as easy as pie. Gone are the days of awkwardly fumbling around trying to figure out shortcuts or downloading third-party apps. This built-in feature is your new best friend, and I’m here to show you why.
So, buckle up because we're diving deep into the world of Chromebook snipping tools. By the end of this guide, you'll be a pro at capturing screenshots, cropping images, and sharing them like a boss. Let’s get started, shall we?
Read also:King Henry Viiis Wives The Untold Stories Of Love Power And Betrayal
Understanding the Basics of Snipping Tool Chromebook
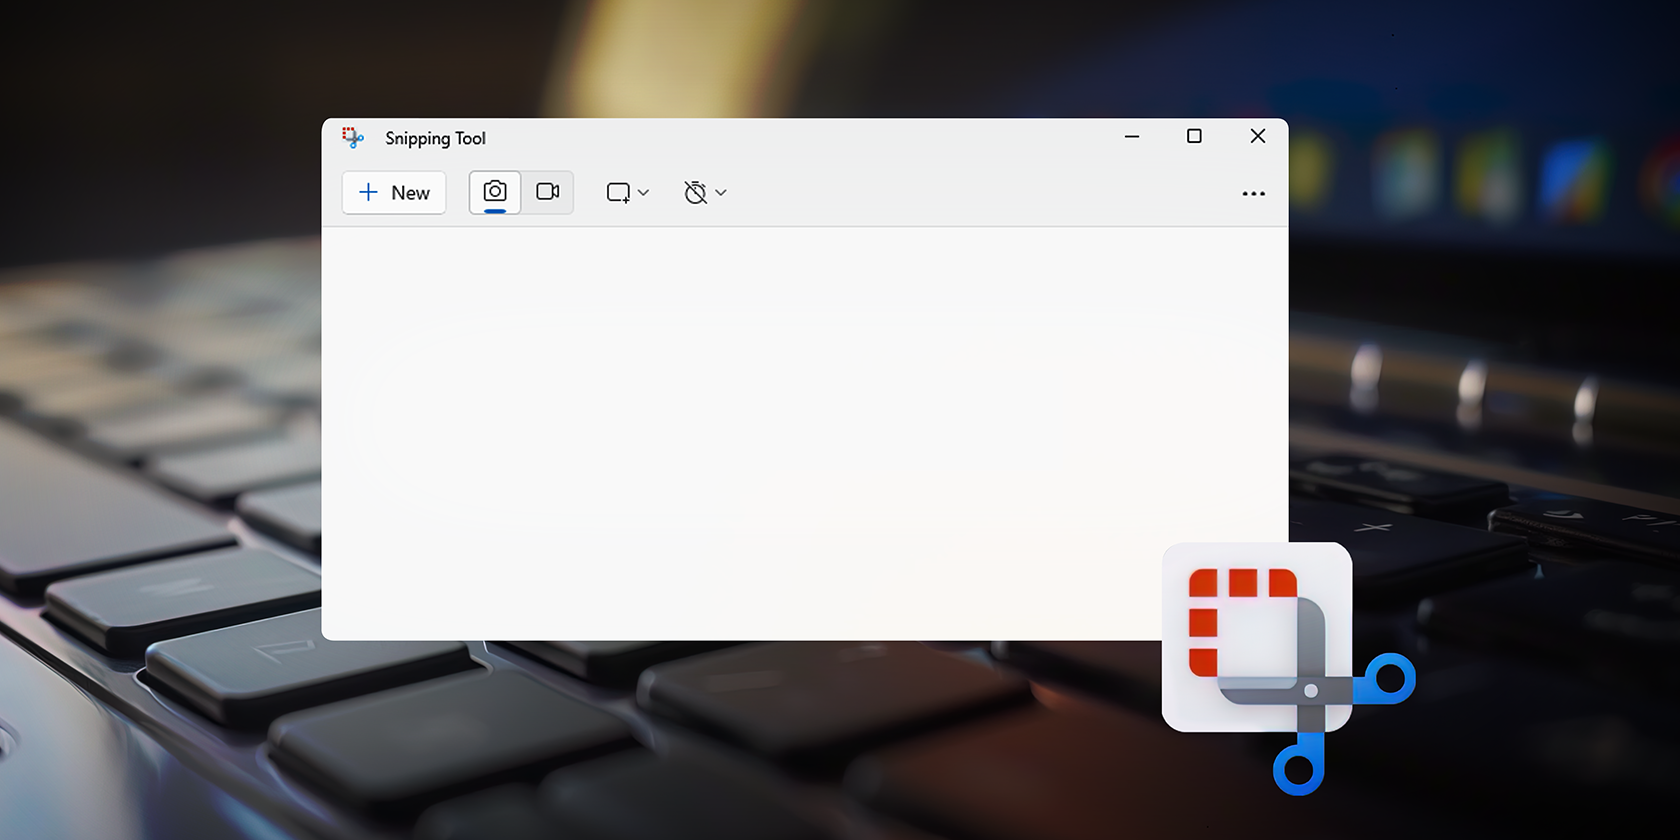
First things first, let's get familiar with the basics. The snipping tool Chromebook feature allows you to capture specific parts of your screen with ease. Whether you want to grab a quick snapshot of an open window or highlight a particular section of your desktop, this tool has got you covered. It's like having a digital pair of scissors at your disposal.
Here's a quick rundown of what you can do with the snipping tool:
- Capture full-screen shots
- Select specific windows or sections
- Edit and annotate your captures
- Save or share your screenshots instantly
And the best part? You don't need any fancy software or complicated steps. Everything is built right into your Chromebook, making it super convenient for everyday use.
How to Access the Snipping Tool on Chromebook
Now that you know what the snipping tool Chromebook can do, let's talk about how to access it. It's super simple, and I promise you won't need a PhD to figure it out.
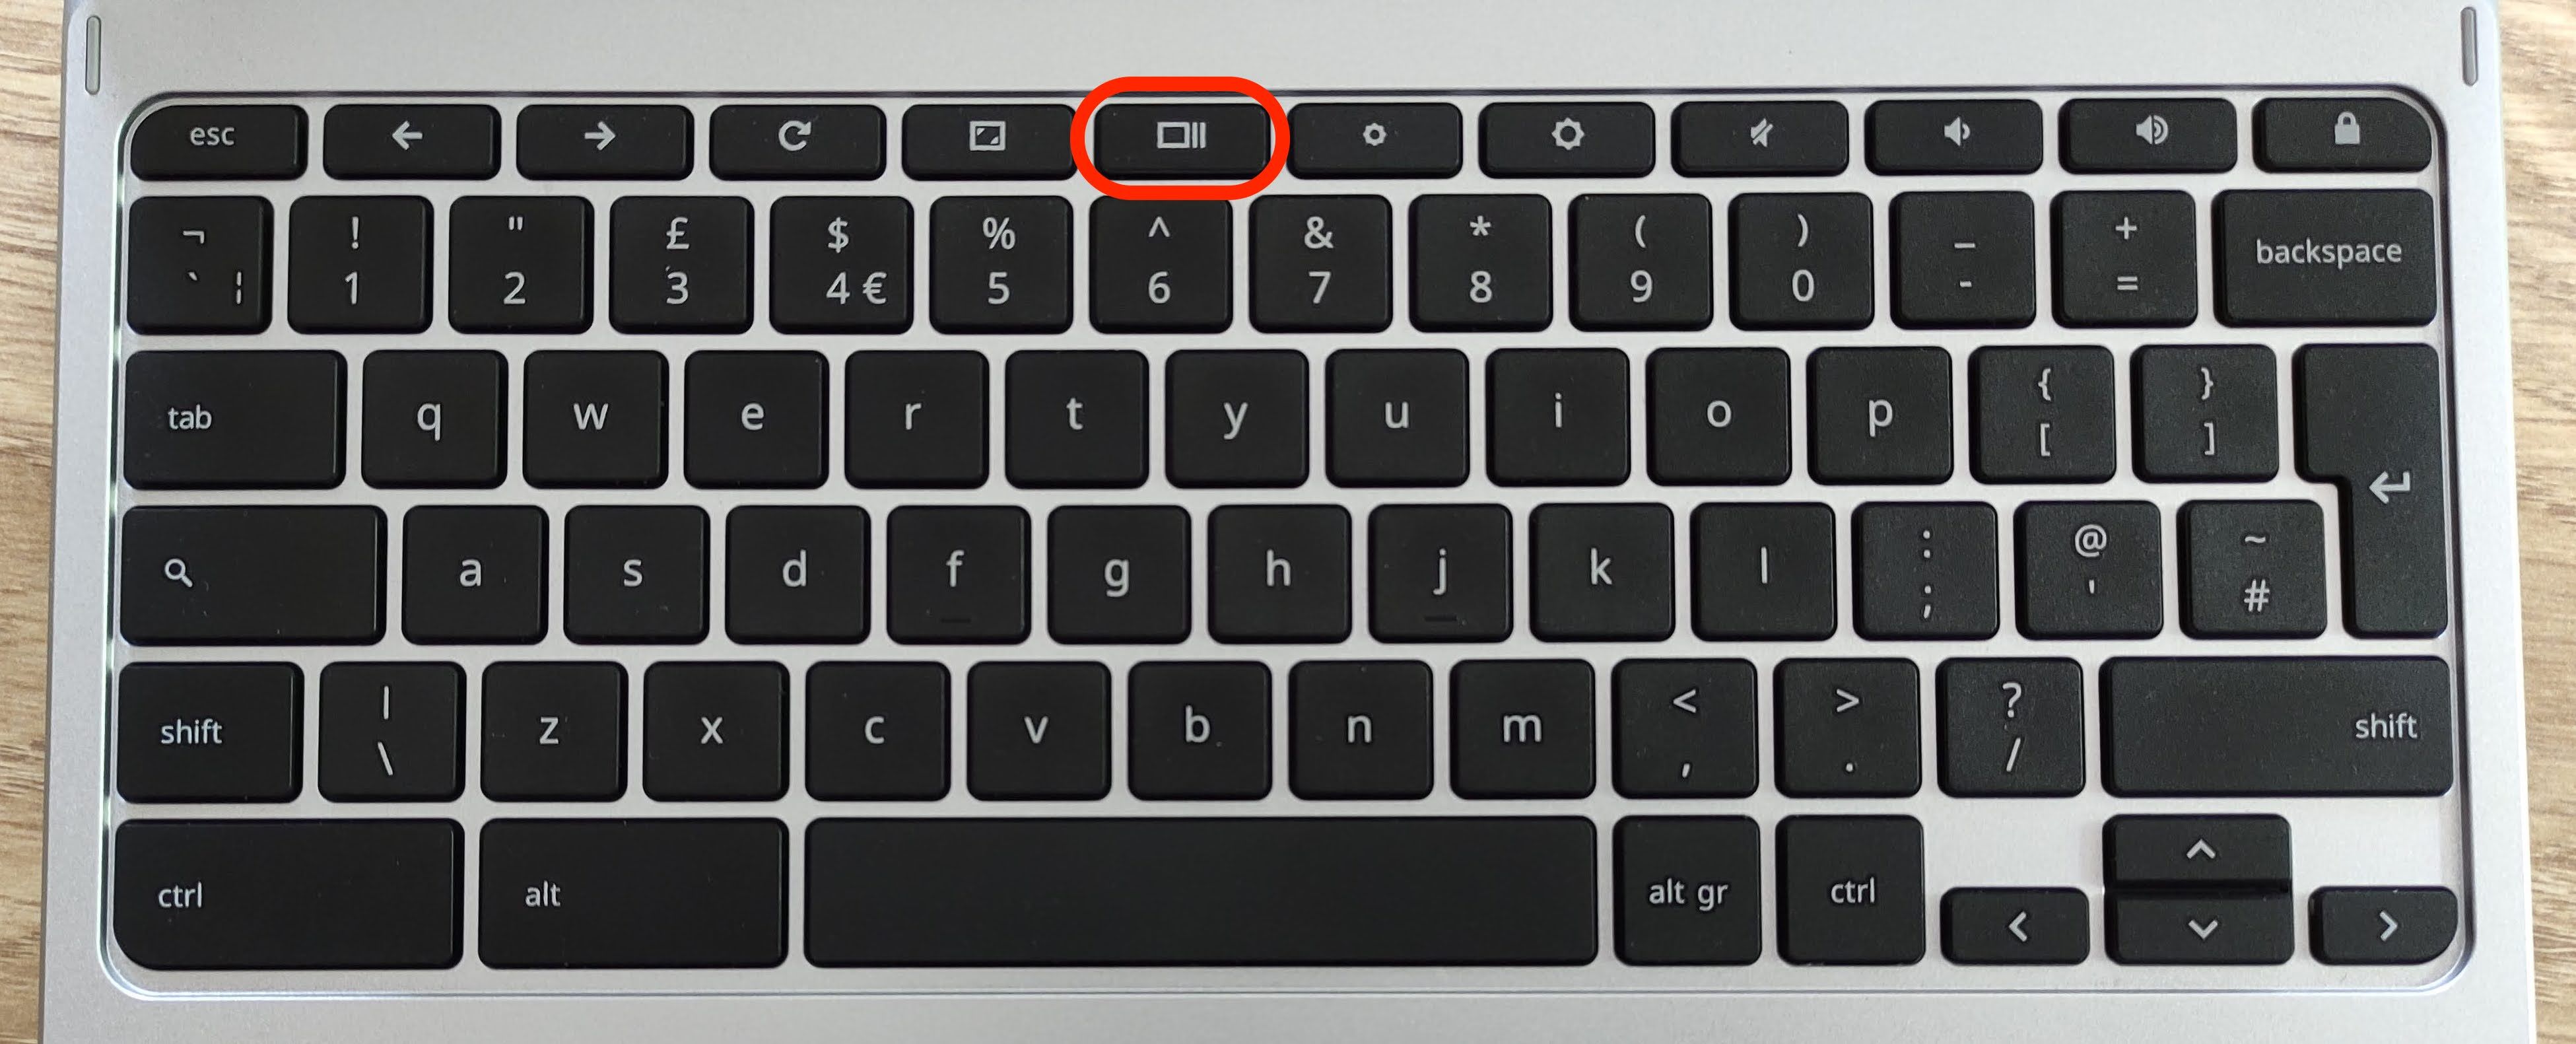
Method 1: Using Keyboard Shortcuts
The fastest way to activate the snipping tool is by using keyboard shortcuts. Here's how:
- Press
Ctrl + Shift + Sto open the snipping tool. - Once the tool is open, you can choose between different capture modes like full-screen, window, or free-form selection.
Boom! You're ready to snip away.
Read also:Matt Rife And Kate Beckinsale A Deep Dive Into Their Connection
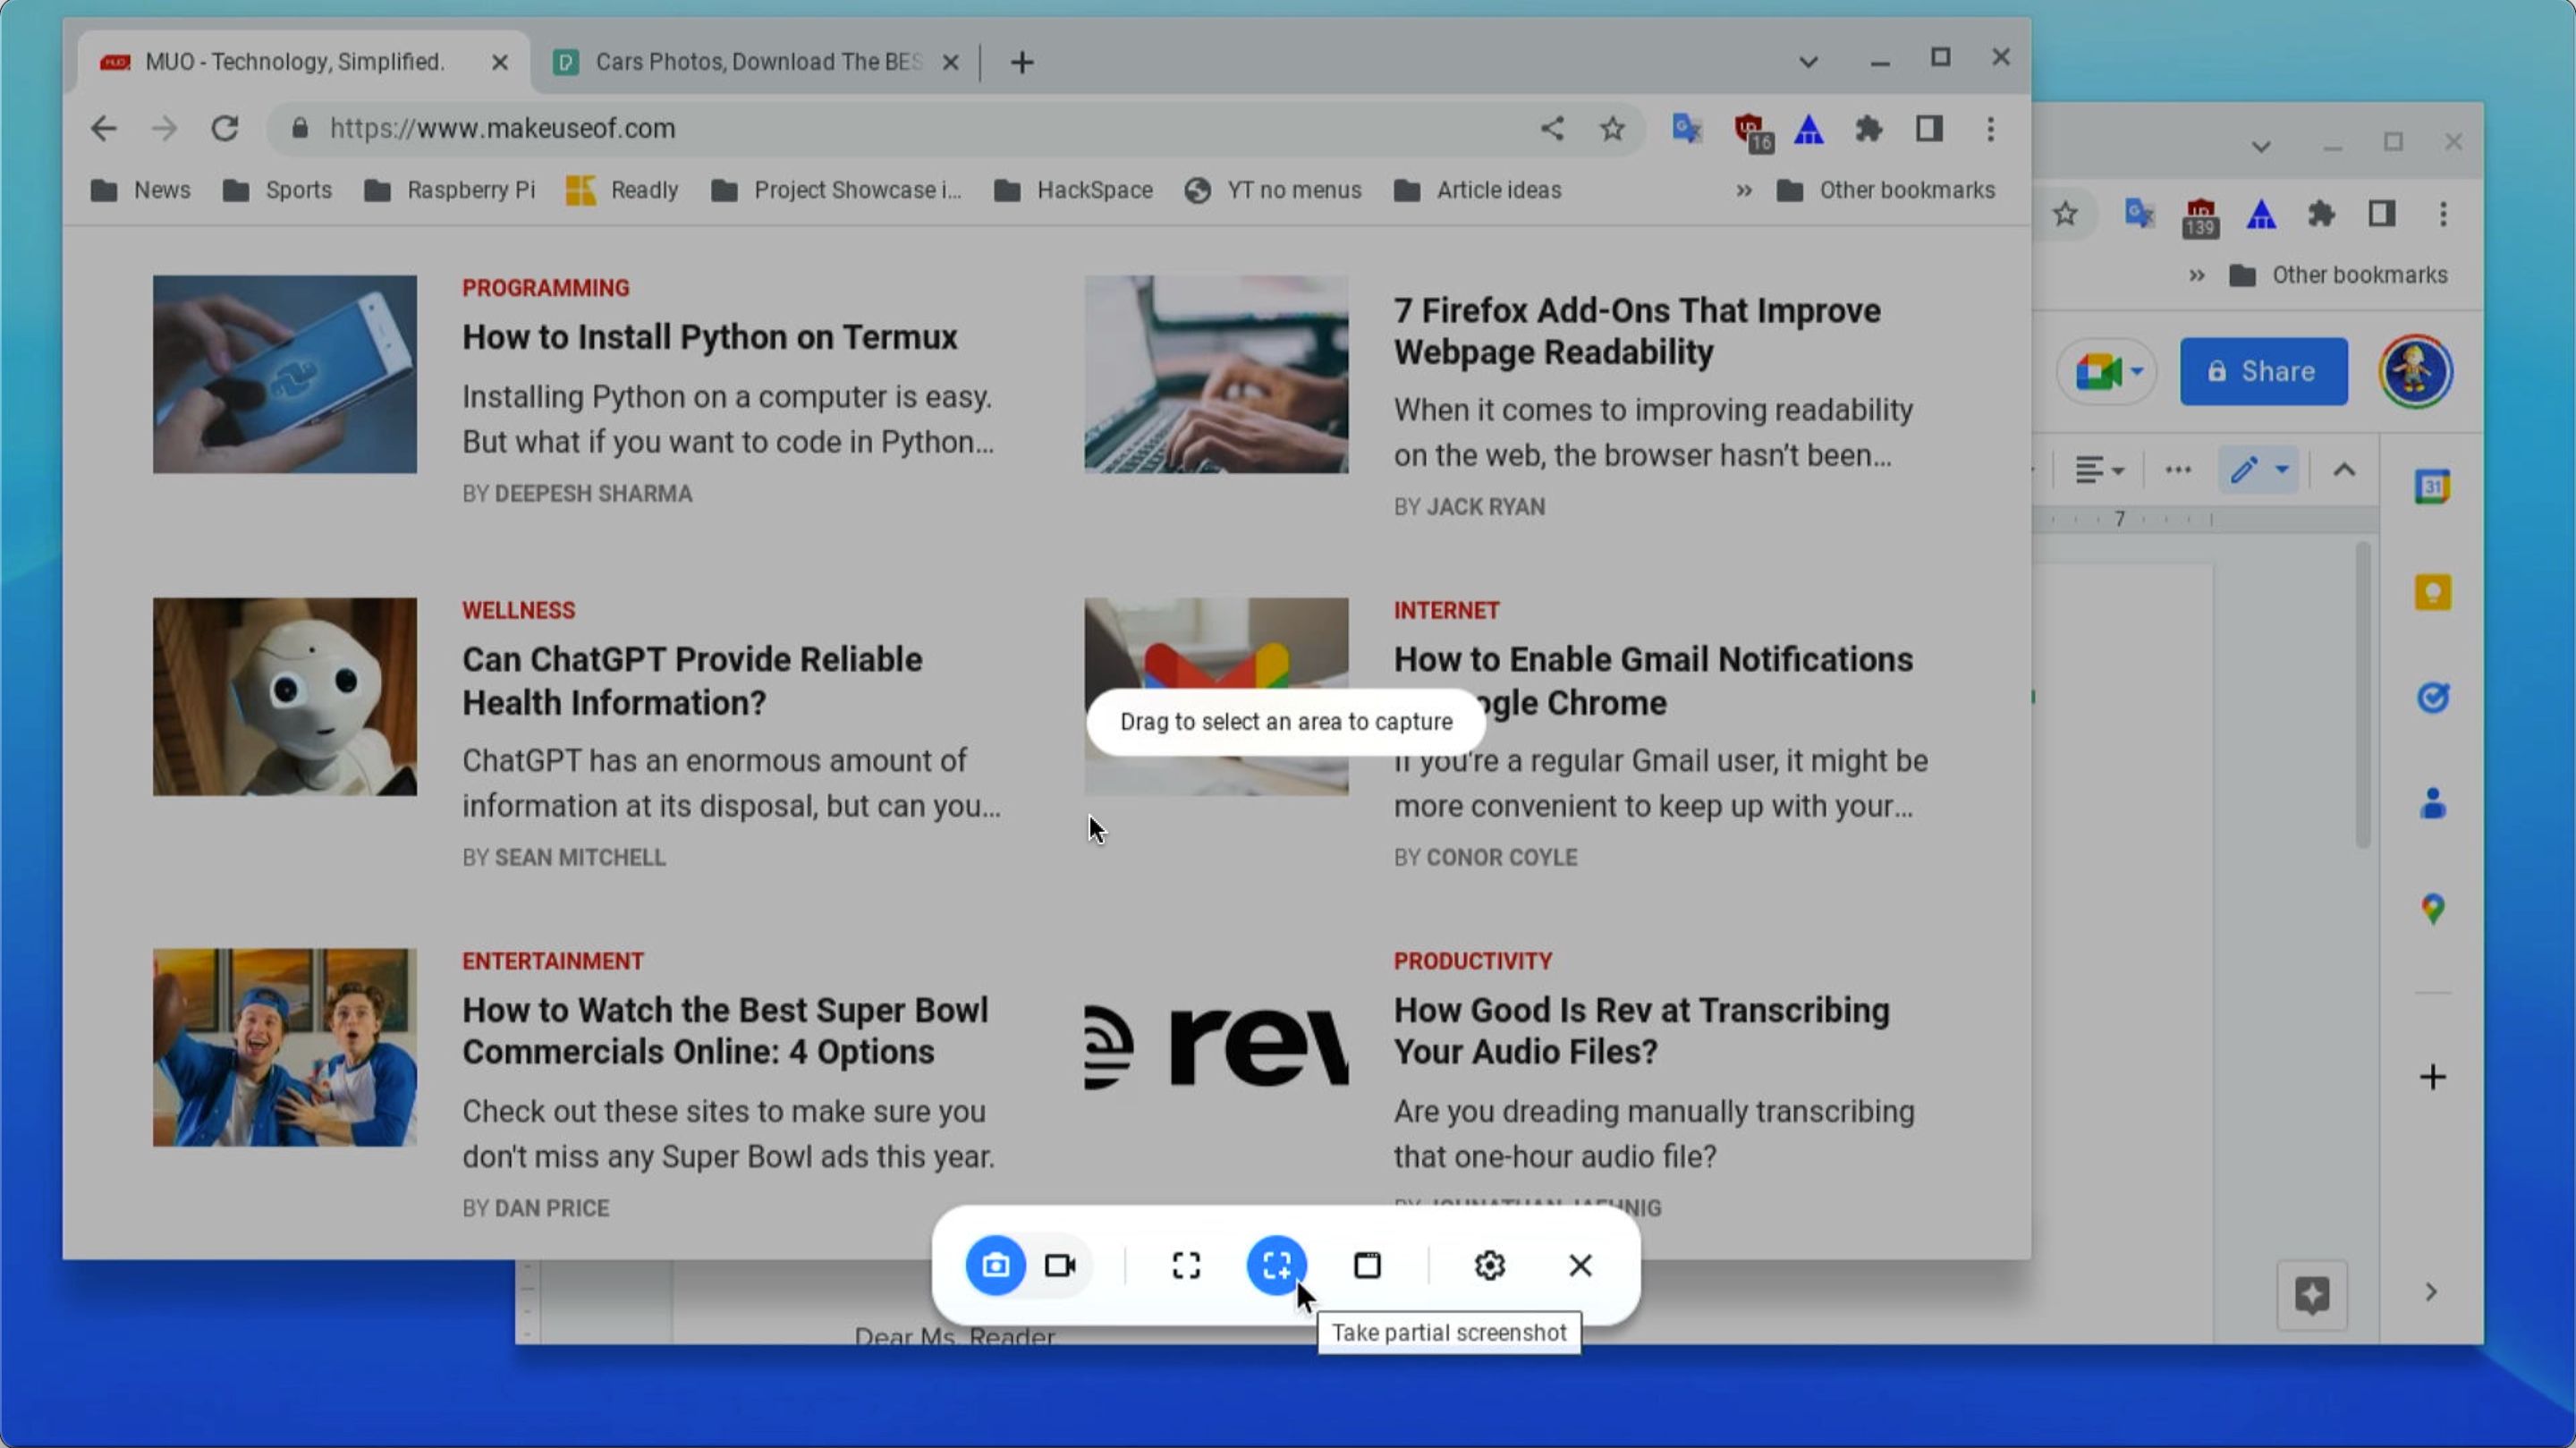
Method 2: Through the Launcher
If you're not a fan of shortcuts, don't worry. You can also access the snipping tool through your Chromebook's launcher. Just follow these steps:
- Click on the
Launcherbutton at the bottom-left corner of your screen. - Type "Snipping Tool" in the search bar.
- Select the tool from the search results.
Voila! You're all set to start capturing.
Tips and Tricks for Using the Snipping Tool Chromebook
Now that you know how to access the snipping tool, let's dive into some tips and tricks to make the most out of it. These little hacks will take your screenshot game to the next level.
Customizing Your Snips
Once you've captured your desired area, you can customize your screenshot using the built-in editor. Here's what you can do:
- Add text or captions
- Draw shapes or highlight areas
- Erase unwanted parts
These features are perfect for annotating documents, creating tutorials, or just adding a personal touch to your screenshots.
Saving and Sharing Your Snips
After you've created the perfect snip, it's time to save or share it. The snipping tool Chromebook makes this process a breeze:
- Click the
Downloadbutton to save your screenshot to your device. - Use the
Sharebutton to send your snip via email, messaging apps, or social media.
It's that easy!
Common Issues and Troubleshooting
Even the best tools can have hiccups sometimes. If you're experiencing issues with the snipping tool Chromebook, here are a few troubleshooting tips:
Shortcut Not Working?
If your keyboard shortcut isn't working, try resetting your Chromebook's keyboard settings. You can do this by going to Settings > Advanced > Reset keyboard shortcuts.
Snipping Tool Not Opening?
If the tool refuses to open, try restarting your Chromebook. Sometimes, a simple reboot can fix the issue. If the problem persists, consider updating your Chrome OS to the latest version.
Remember, patience is key. If something doesn't work the first time, don't panic. Just try again or reach out to Chromebook support for further assistance.
Why the Snipping Tool Chromebook Is Essential
So, why should you bother learning how to use the snipping tool Chromebook? Here are a few reasons:
- It's quick and efficient
- It's built into your device, so no extra software needed
- It offers versatile capture options
- It integrates seamlessly with other Chromebook features
In today's fast-paced world, having a reliable screenshot tool at your fingertips can save you tons of time and hassle. Whether you're working on a project, collaborating with teammates, or just sharing fun moments with friends, the snipping tool Chromebook is your ultimate companion.
Alternatives to Snipping Tool Chromebook
While the built-in snipping tool Chromebook is fantastic, there are other options available if you're looking for more advanced features. Here are a few alternatives:
Google Keep
Google Keep is a great option for taking quick notes and screenshots. It syncs across all your devices and offers handy annotation tools.
Snagit
For those who need professional-grade screenshot capabilities, Snagit is a top choice. It offers advanced editing features and is perfect for creating detailed tutorials or presentations.
However, keep in mind that these alternatives may require additional downloads or subscriptions. The built-in snipping tool Chromebook is usually more than enough for most users.
Conclusion: Take Your Chromebook Snipping to the Next Level
There you have it, folks! Everything you need to know about the snipping tool Chromebook. From accessing the tool to customizing your captures, this guide has got you covered. Whether you're a tech-savvy pro or a newbie, mastering this feature will make your life easier and more productive.
So, what are you waiting for? Go ahead and try out the snipping tool Chromebook today. And don't forget to share your awesome snips with the world. Your friends and followers will be impressed!
Call to Action: If you found this guide helpful, drop a comment below and let me know how you're using the snipping tool Chromebook. Also, feel free to share this article with anyone who might benefit from it. Together, let's spread the word about this amazing feature!
References
This guide was crafted using information from trusted sources such as the official Chromebook support pages and real-world user experiences. For more details, check out:
Stay updated and keep exploring the endless possibilities of your Chromebook!
Table of Contents
- Understanding the Basics of Snipping Tool Chromebook
- How to Access the Snipping Tool on Chromebook
- Tips and Tricks for Using the Snipping Tool Chromebook
- Common Issues and Troubleshooting
- Why the Snipping Tool Chromebook Is Essential
- Alternatives to Snipping Tool Chromebook
- Conclusion: Take Your Chromebook Snipping to the Next Level
- References